Hey y’all! I’m so pleased to have had the chance to take part in the first challenge of Indie Pattern Month 2015 over on The Monthly Stitch, and by some miracle I actually won 2nd place! Thanks to all who voted, and I’m so glad that you liked my wild and whimsical Flora dress.
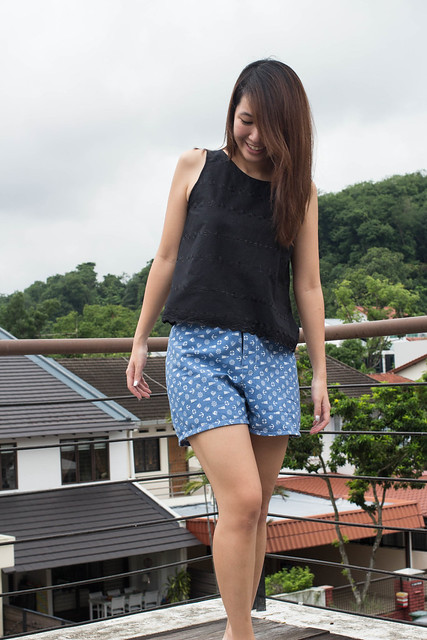
This week I’m back again (and just in the nick of time!) for the Separates competition with a cropped Eucalypt Tank, and a little sneak peek of a not-yet-released pattern from Itch to Stitch – the Angelia shorts! Let’s get right to it, shall we?
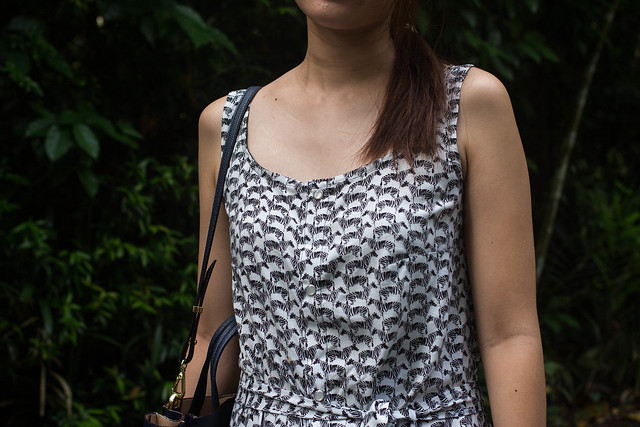
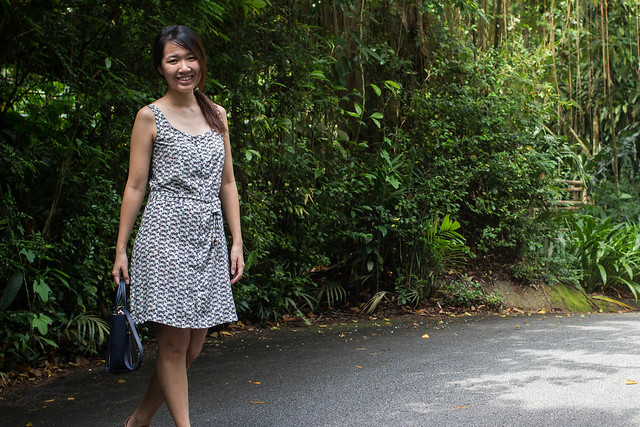
Eucalypt Tank pattern by Megan Nielsen
If you’ve been following my sewing journey for a while you’d have remembered my first Eucalypt Tank made out of some cheap Aztec print cotton that I scored from the bargain bin in Chinatown (in Singapore). If you know me in real life, you’d probably have seen me wearing it, oh, just about every other weekend or so. It is by far the best and closest fitting woven tank top or shell top I own, even if the material is kind of stiff and does feel a little too tight around the arm holes. So when I decided to whip up a cropped tank, it was a no brainer that the Eucalypt pattern was the one for me. (It also helped that Holly made this adorable crop top and midi skirt set using the Eucalypt pattern last year and I’ve been dying for one of my own ever since.)
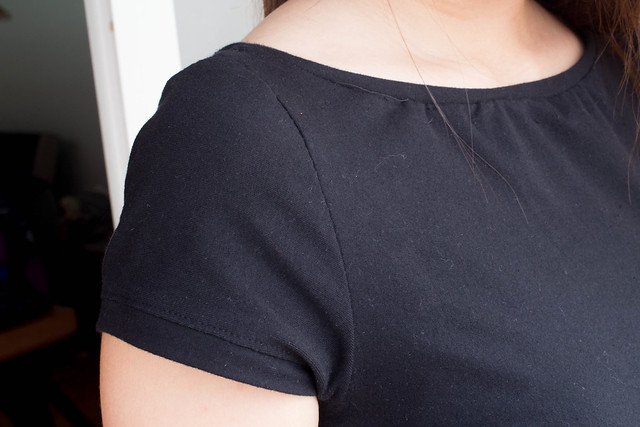
This is an incredibly simple pattern with great results – only 2 pattern pieces,front and back! Plus bias binding strips if you aren’t using store-bought ones. The instructions are very simple to follow. This was one of my very first makes that I attempted before knowing very much about sewing – I remember reading about french seams months later and realising that I had already done them before just by following the instructions in this pattern! If that’s not a sign of clear directions, I don’t know what is.
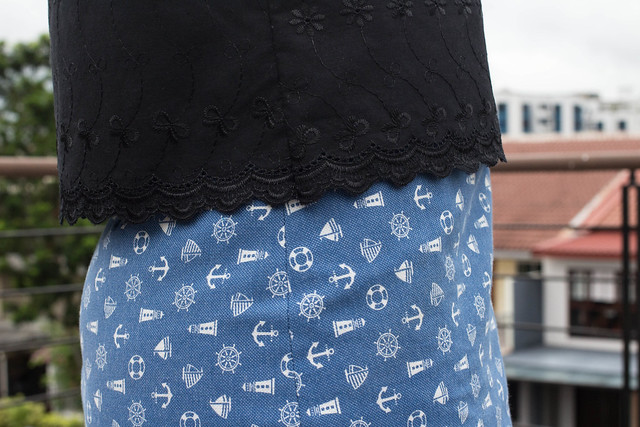
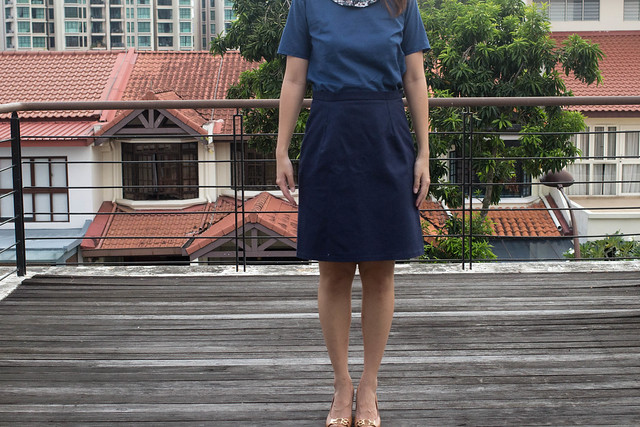
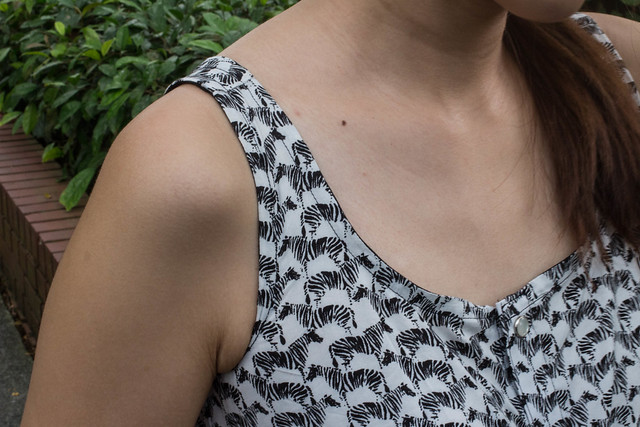
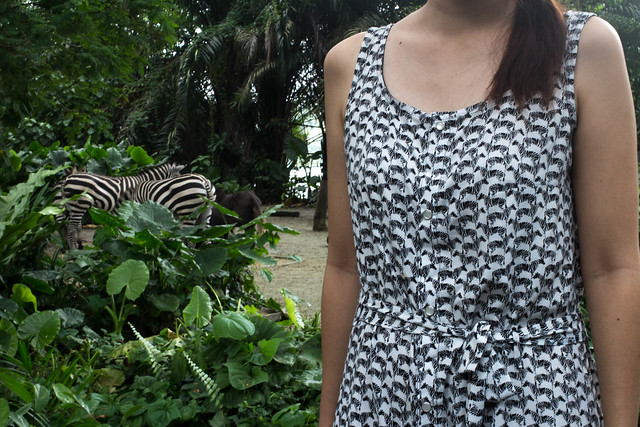
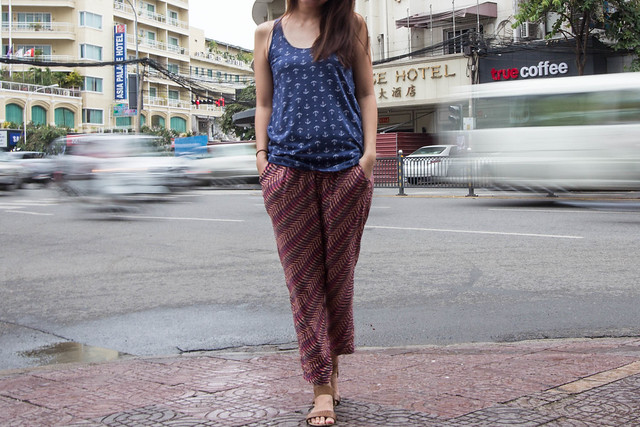
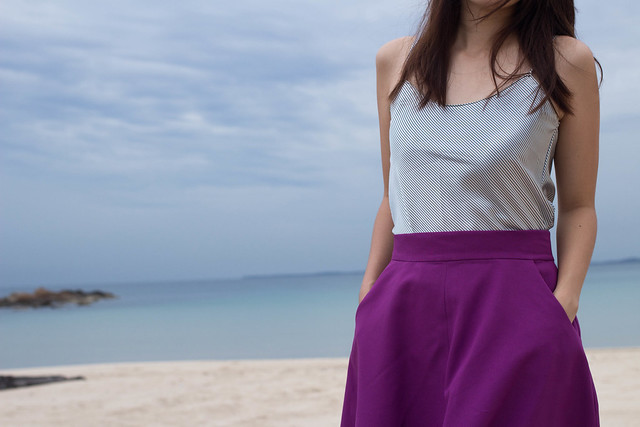
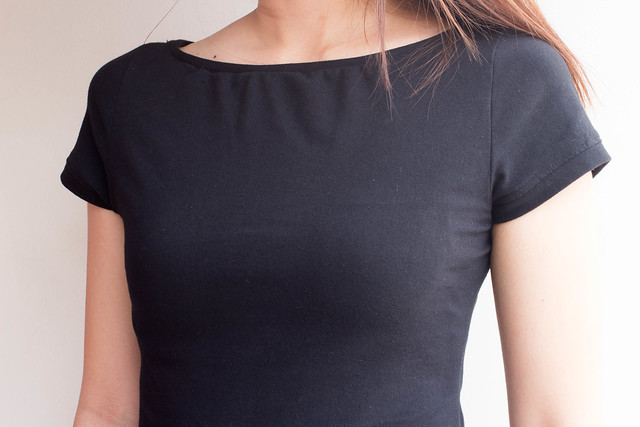
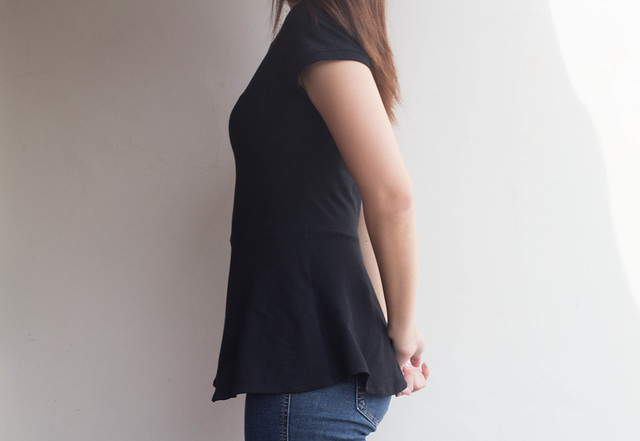
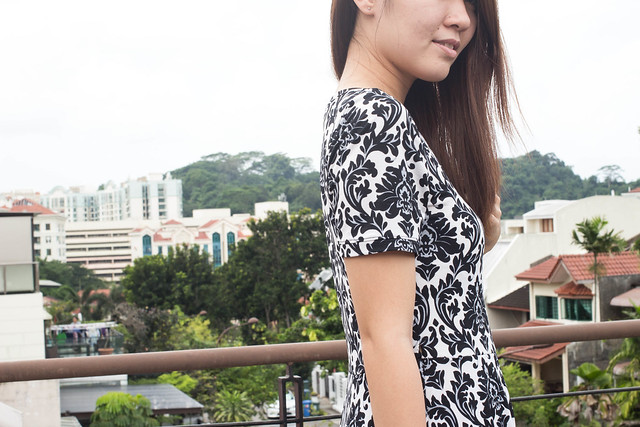
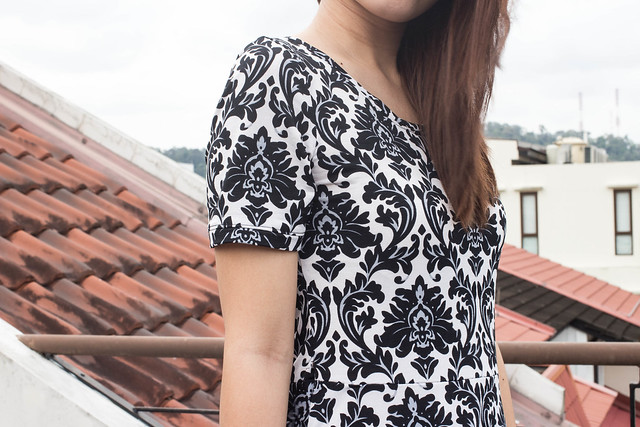
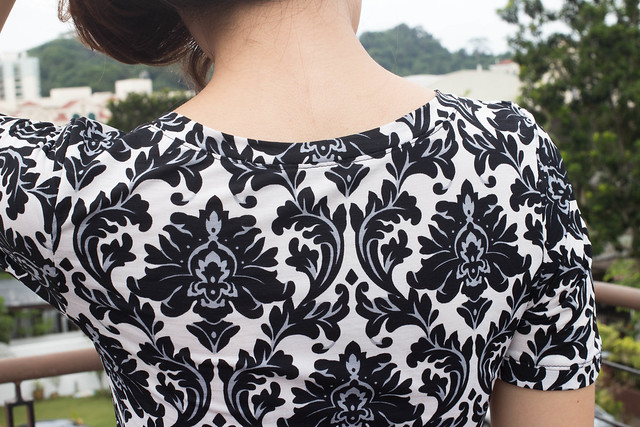
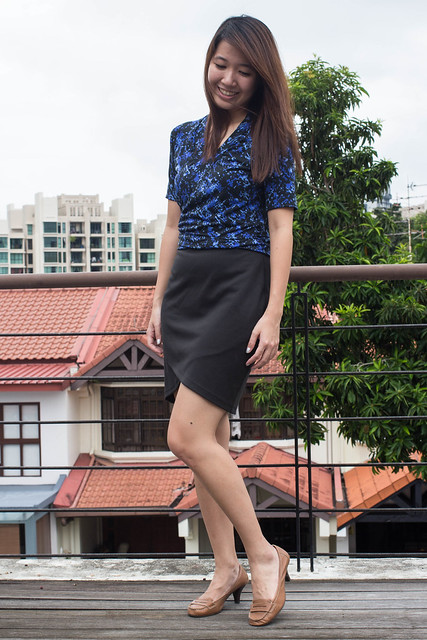
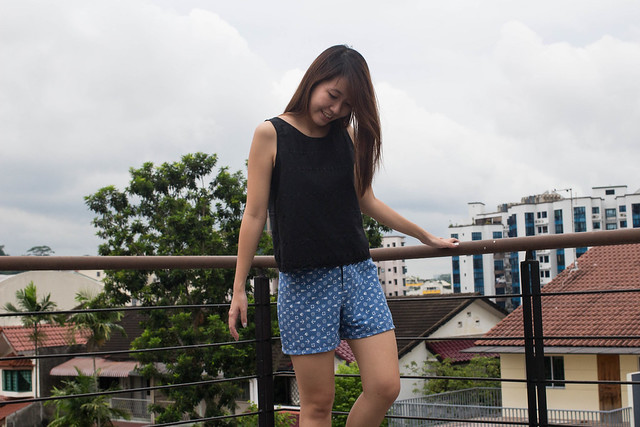
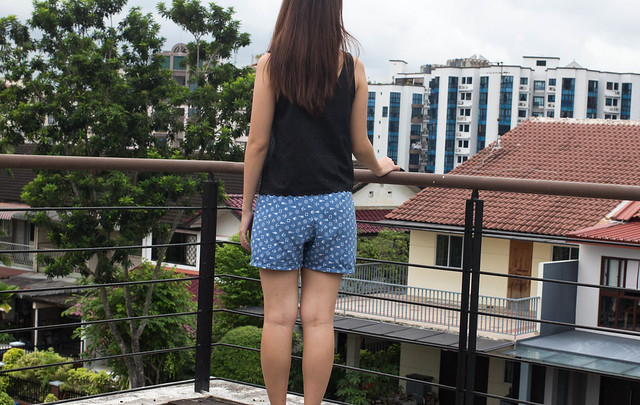
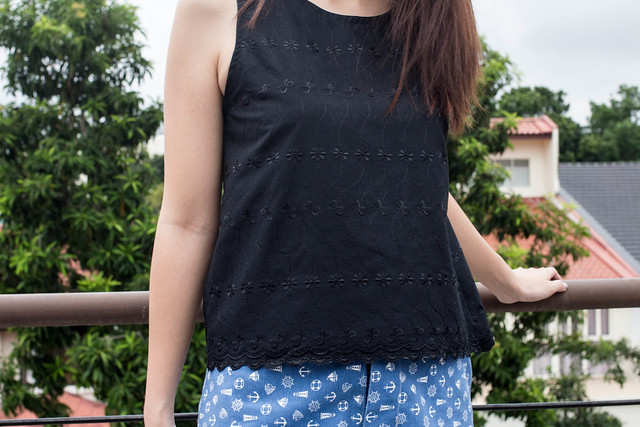
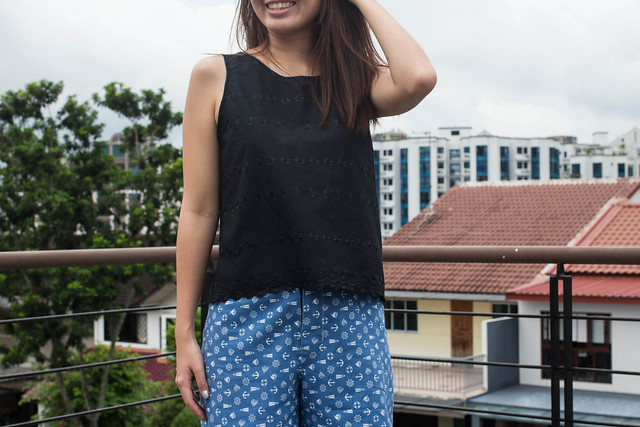
I wish I could give you a bit more details on how I hacked the pattern, but in all honesty, I just winged it. I put on my first Eucalypt and measured how much I wanted to take off from the hemline – this length is about 3 fingers above my navel. I also had a little problem because my eyelet fabric was scalloped, and I wanted to keep the beautiful selvedge as my hem. This meant that I had to even out the curved hem of the Eucalypt and make it straight all the way around instead. If I remember correctly, what I ended up doing was measuring 10cm up from the hem of the side seam, and drawing a perpendicular line from that point, straight across both the front and back pattern pieces. I left the top unlined in spite of the eyelets because they were too small and sparse to be revealing. I also raised the neckline and armsyces, but ended up wearing the top back to front as I liked the high neckline in the front and the scooped neck at the back instead. I can’t tell the difference – can you?

Tldr;
Pattern: Megan Nielsen’s Eucalypt Tank
Size made: XS at the shoulders and bust, grading to a S at the waist
Alterations made: Raised the neckline and armscyes, cropped length, evened out the hemline
Fabric and Notions: Less than a metre of black cotton eyelet fabric with a scalloped hem and store-bought black bias binding
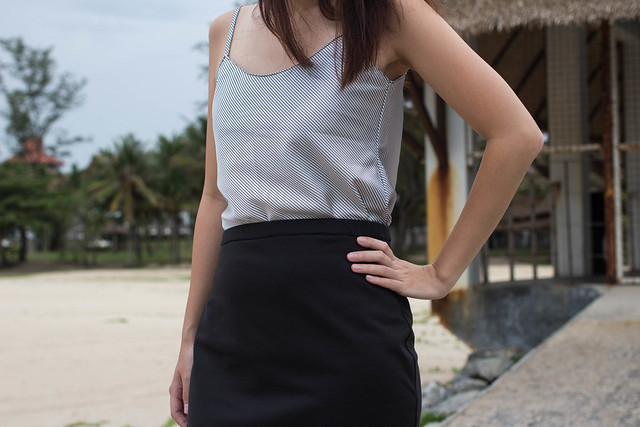
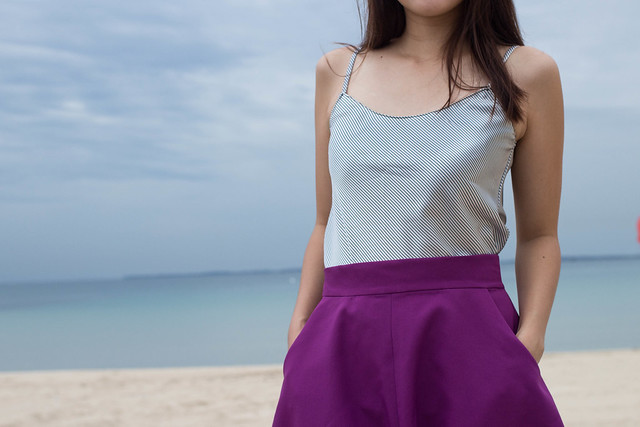
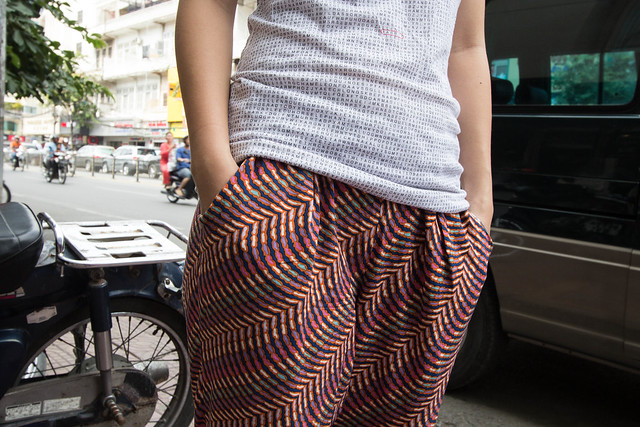
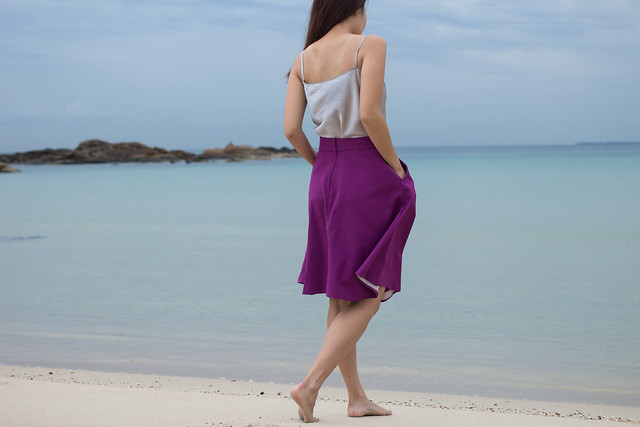
Itch to Stitch Angelia Shorts
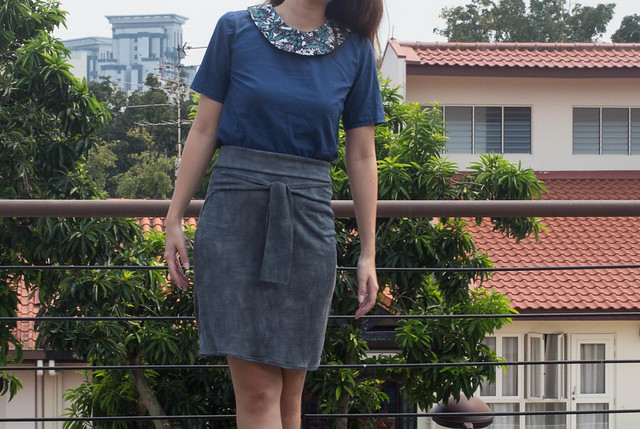
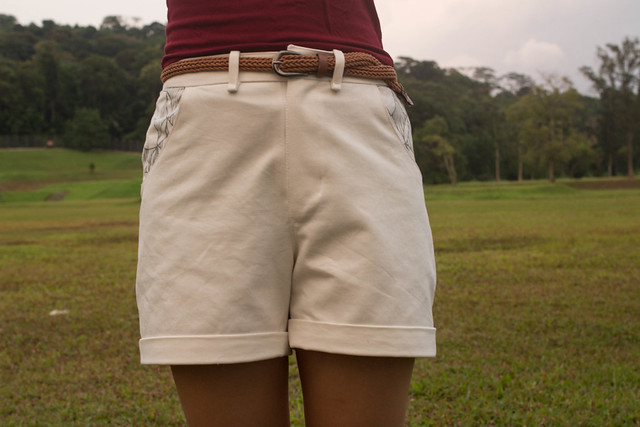
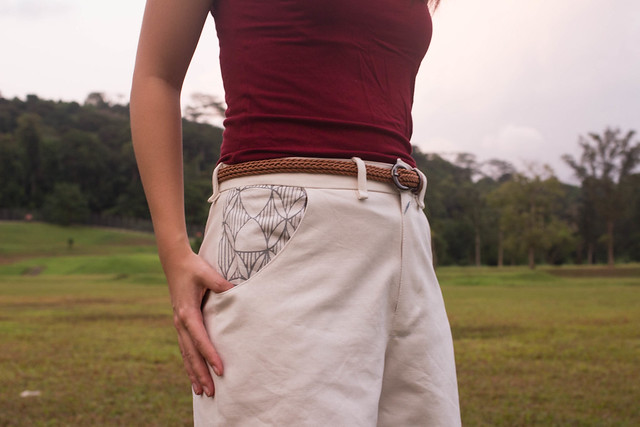
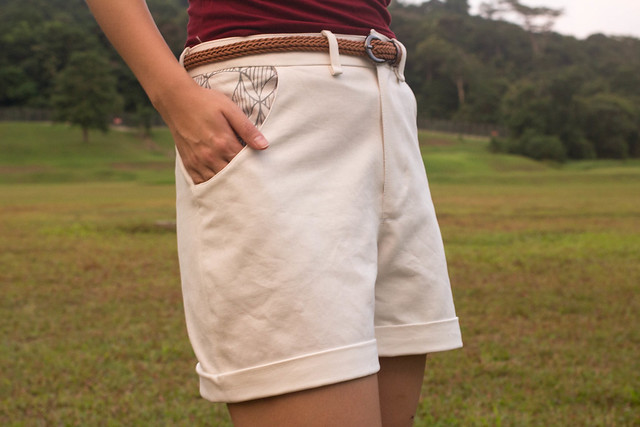
This pair of nautical shorts was a tester version I made as part of Kennis’ testing process for her upcoming release – the Angelia Shorts Pattern. I was provided the tester version of this pattern free from Kennis for testing purposes, and she’s kindly agreed to let me use them for the Separates challenge! (Thanks Kennis! On a side note, all opinions on this pattern are completely my own.) This is the view A version of the shorts, ie. the simplest version sans pockets or belt loops. There are two other version of the Angelia that include all the bells and whistles – coin pouches, tabs, cuffs, patch pockets and welt pockets – you name it, it’s probably somewhere in the pattern. If you would like to be kept posted on when this pattern is being released, be sure to sign up to the Itch to Stitch group on Facebook for updates.

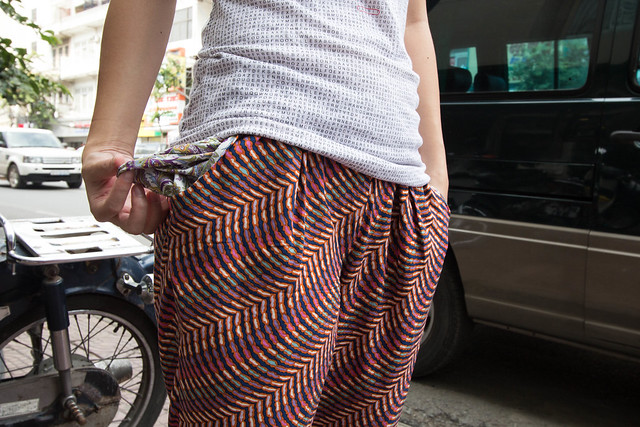
I won’t go into too much detail about the pattern as yet, as I’m planning to save that for a later post after the pattern has launched. But I WILL say that this pattern is completely manageable for a beginner or a beginner+, it’s my first ever pair of shorts myself! You may notice that my fly zip is kind of messy – that’s completely my fault as I misunderstood the instructions. I did raise this up to Kennis and she was very quick in taking in my feedback – from what I understand that step will be clarified in the final version of the pattern. If you’ve ever made up an Itch to Stitch pattern, you’ll be familiar with how comprehensive the instructions are. If you haven’t, I would strongly strongly encourage you to get the free Lindy Petal Skirt pattern and see for yourself!

Pattern: Itch to Stitch Angelia Shorts pattern, view A (not yet released)
Size made: Size 4
Fabric and notions: Some kind of cornflower blue printed cotton with a waffle-like texture, a 7″ regular zip and a hook and eye
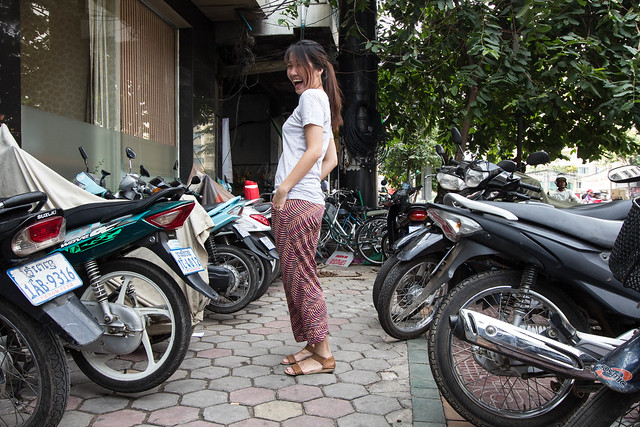
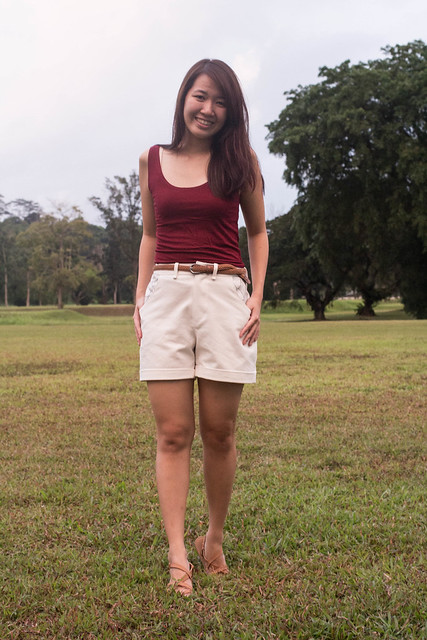
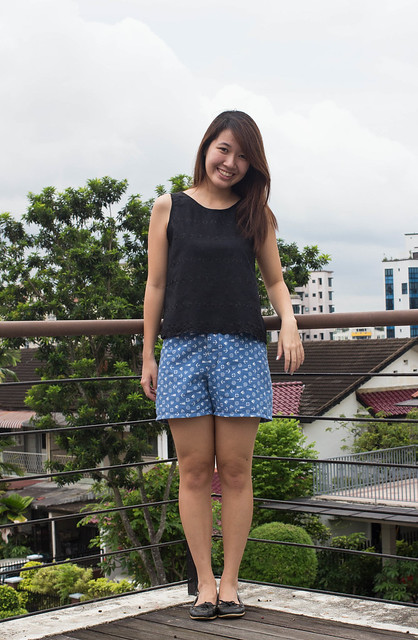
I can’t wait to get some wear out of both these pieces – either separately or together! I would have liked to make the crop top a little shorter to suit the high waist of the shorts, but I wanted a versatile piece that could be worn with my mid to low rise jeans and shorts as well.
What summer sewing are you guys embarking on? All the shorts, sundresses, maxi skirts and bikinis popping up on the blogosphere have me dying to ditch my work clothes plans and make holiday outfits galore!